

Prepare Drawers
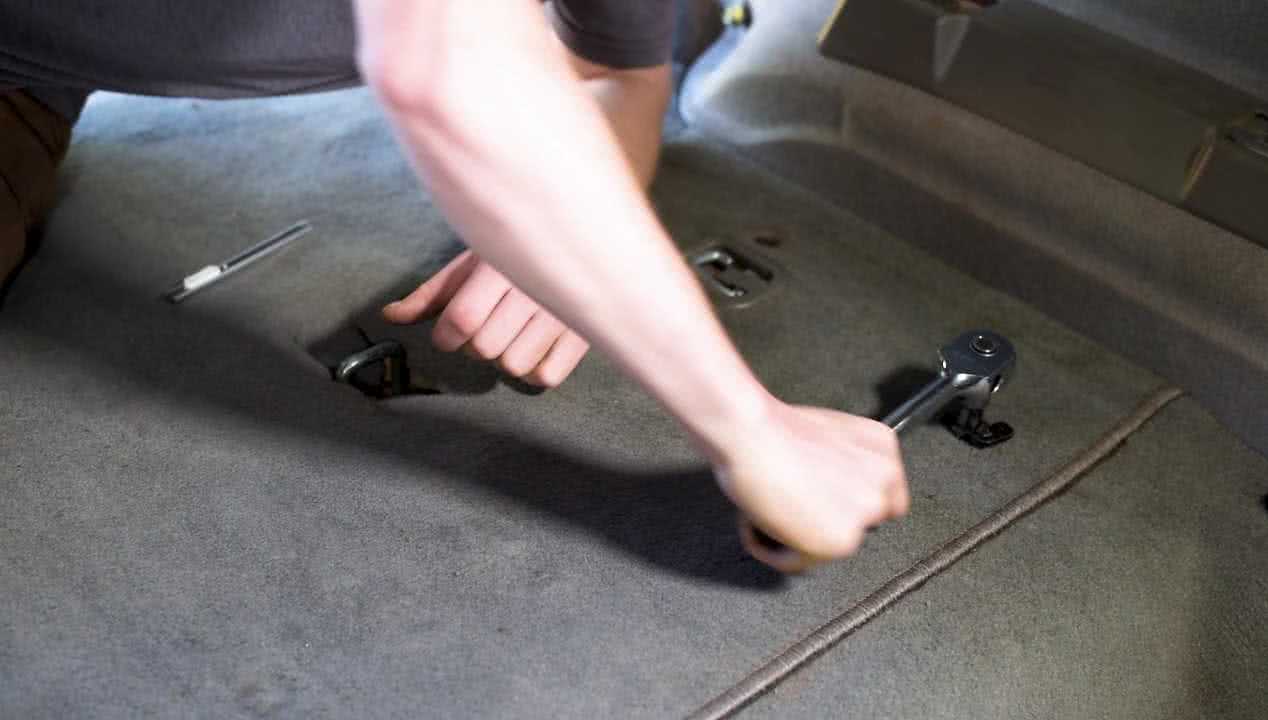
With the drawer system removed from its packaging, lay it on a flat surface and use a Hex key. to remove the fixed top of the drawer. The drawers can be fitted with the roller top in place, however removing it will make access easier.
On both left and right hand sides, the tie down points must be removed, followed by the series of socket head screws recessed into the carpet. The drawers come without the stoppers installed, so each can be removed - leaving you with the bare frame.

Components

Plan Mounting Points
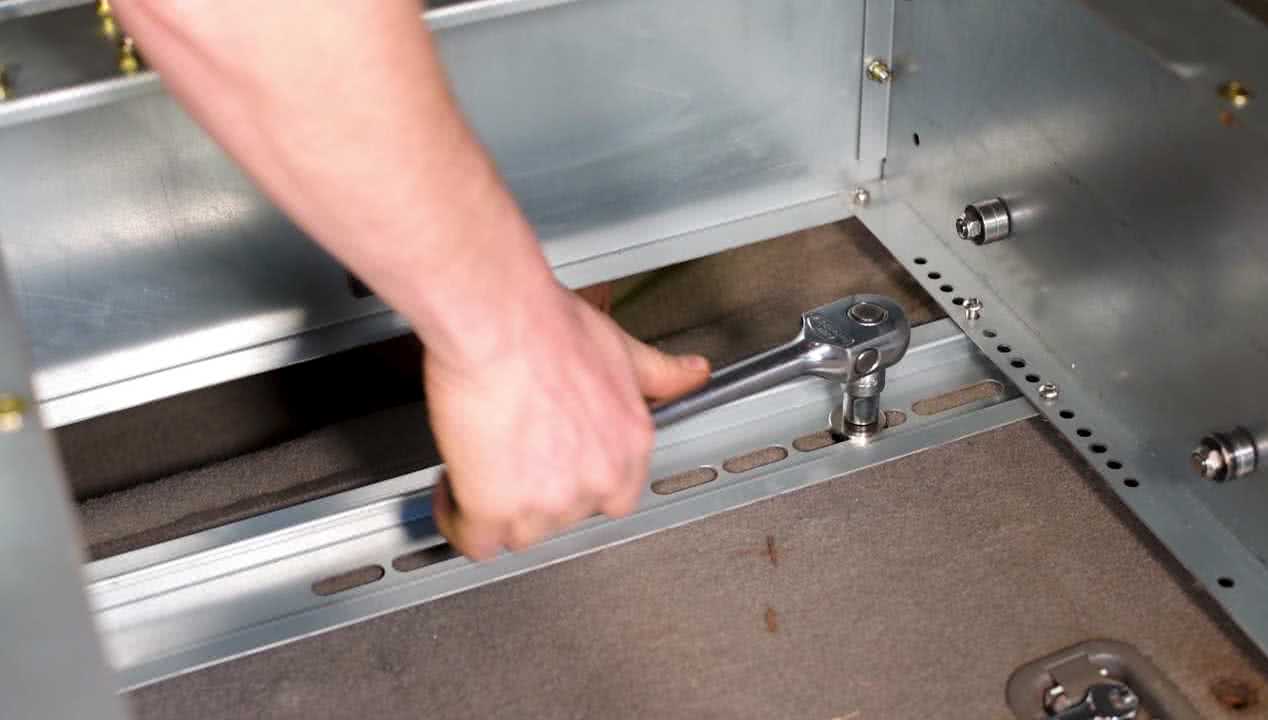
Now that the drawers are stripped down, you must plan the mounting points to be used and adjust the mounting rail on the bottom of the drawer accordingly.
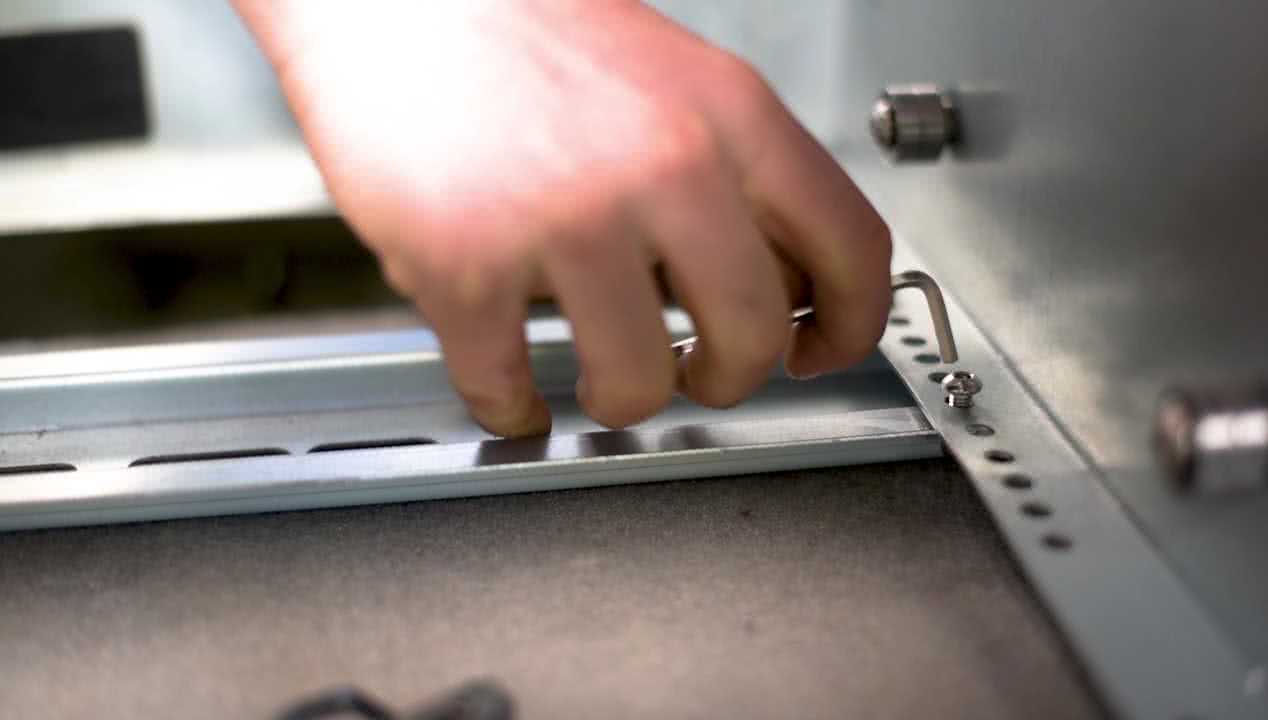
In many cases, existing captive nuts and seat bolt down points can be used, although some may require cutting of the carpet. Measure up these holes and change the position of the mounting rails by removing the socket head screws, moving the rail to the desired position; and replacing the screws.

Secure Drawers
With the help of a friend, it’s time to lift the drawer frame into position. Line up the mounting holes and insert the supplied mounting bolts.
If you are fitting the optional side floor kit, leave the mounting bolts loose. Otherwise; check for correct positioning by measuring side to side before tightening them.
Re-assemble Frame
The optional side floor kits are purchased separately and manufactured to suit each vehicle specifically.
They bolt to existing holes in the drawer frame and will only fit one way. Fasten the mounts and end piece through the drawer frame into the captive nuts - using the button head screws supplied with the side floor kit.
Then attach the carpeted side floor pieces to these mounting brackets using the black socket head screws. The drawer frame may need to move one side or the other to achieve the correct fit.


Install Drawers
Before the drawers go back into the frame, don’t forget to tighten up the mounting bolts to the floor of the vehicle. Lift each drawer and slide it back into position, but don’t close them all the way.
The drawers will first need the stoppers fitted to prevent them falling out. Position a stopper on the left and right sides of each drawer, just above the rail and right towards the back of the drawer like so.
Make sure that the Nyloc nuts inside the stopper face AWAY from the drawer, and locate the pre-drilled holes - through which the socket head screws can be threaded.
All that remains now is to replace the tops of the drawer and the tie down points.
The drawers may feel a little stiff at first, but once loaded up with your gear - everything will glide smoothly; and never again will there be a scramble to find the toilet paper at camp.
